Start10: Using a Custom Start Button Image
Start10 is a popular choice for Windows 10 users who appreciate the look and feel of the classic Windows 7 Start menu. Its range of customizations and options make it an ideal choice to install with the OS. I wanted to focus on one feature in particular today, which is using custom images for the Start button. Start10 already includes several options for you to choose from, and there are many more available for download at WinCustomize.
Changing the Start Button
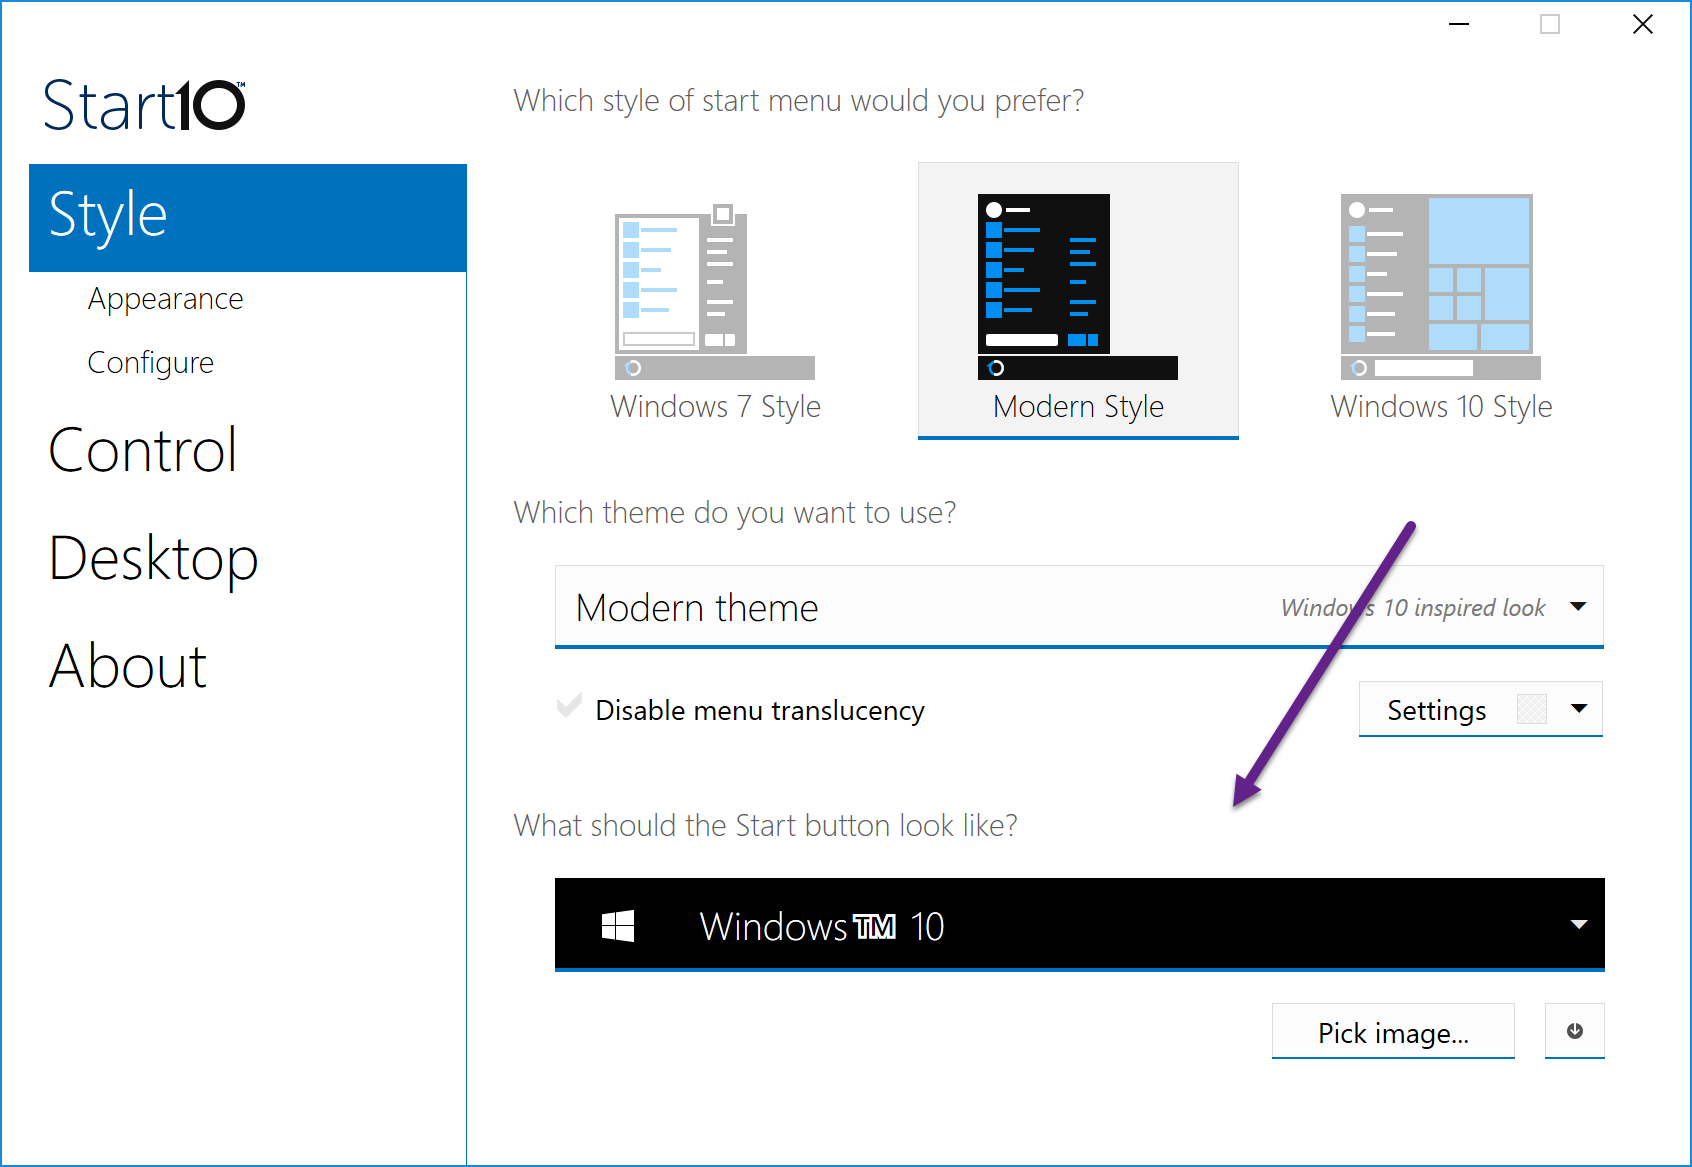
Achieving a unique look for your Start button is easy! Just click the ‘pick image’ box in the Style section of the Start10 configuration. It’ll open up a window where you can choose from quite a few different images.
In addition to downloading custom buttons, you can make your own to submit to WinCustomize to share with other users. Once you download a Start button image, just place it in the Start button folder in the Start10 directory to access it.
Typically, that would find that directory here: C:\Program Files (x86)\Stardock\Start10\StartButtons
Creating Your Own Button
Start10 Start buttons are pretty easy to make. It’s just one image file with 3 images stacked vertically and saved in a .PNG format.
Here’s an example:
Here are the 3 graphics stacked (40px wide, 120px high - each button being 40px high). The top is the normal state, the middle is the hovered state, and the bottom is the pressed state. Each image represents what the button will look like in each state. When you have your image done, you can place it in the folder mentioned above.
Start10 is available individually for your Windows PC, but you can get that and more with a low-cost membership to Object Desktop. While you're a member, you'll get free updates, access to all betas (check out the beta for Groupy!), and any new apps for one year. You’ll also get access to other great programs like Fences, DeskScapes, WindowBlinds, Multiplicity, and many more!

