DeskScapes 11: How to Make a Background Playlist
DeskScapes 11 has a lot of fantastic new features, one in particular is my personal favorite: playlists.
In the newest version of our popular customization app, you can set different backgrounds - both animated and static - to a playlist that will cycle in and out at intervals of your choice. I have a lot of interests and things that I love, so sometimes choosing just one of something is tough for me. I usually will manually change out my desktop background a few times a month or so - but now I don’t have to!
Let’s go through a few of the settings and get you on your way to setting up your own background playlists.
Choose Your Backgrounds
If you’re going to start a playlist, it makes sense to start with having an idea in mind of what backgrounds you’d like to include in it. There are thousands of backgrounds to choose from on WinCustomize.com, but maybe you have a few hundred photos from that awesome trip you took, or that family reunion you visited that you’d like to use.
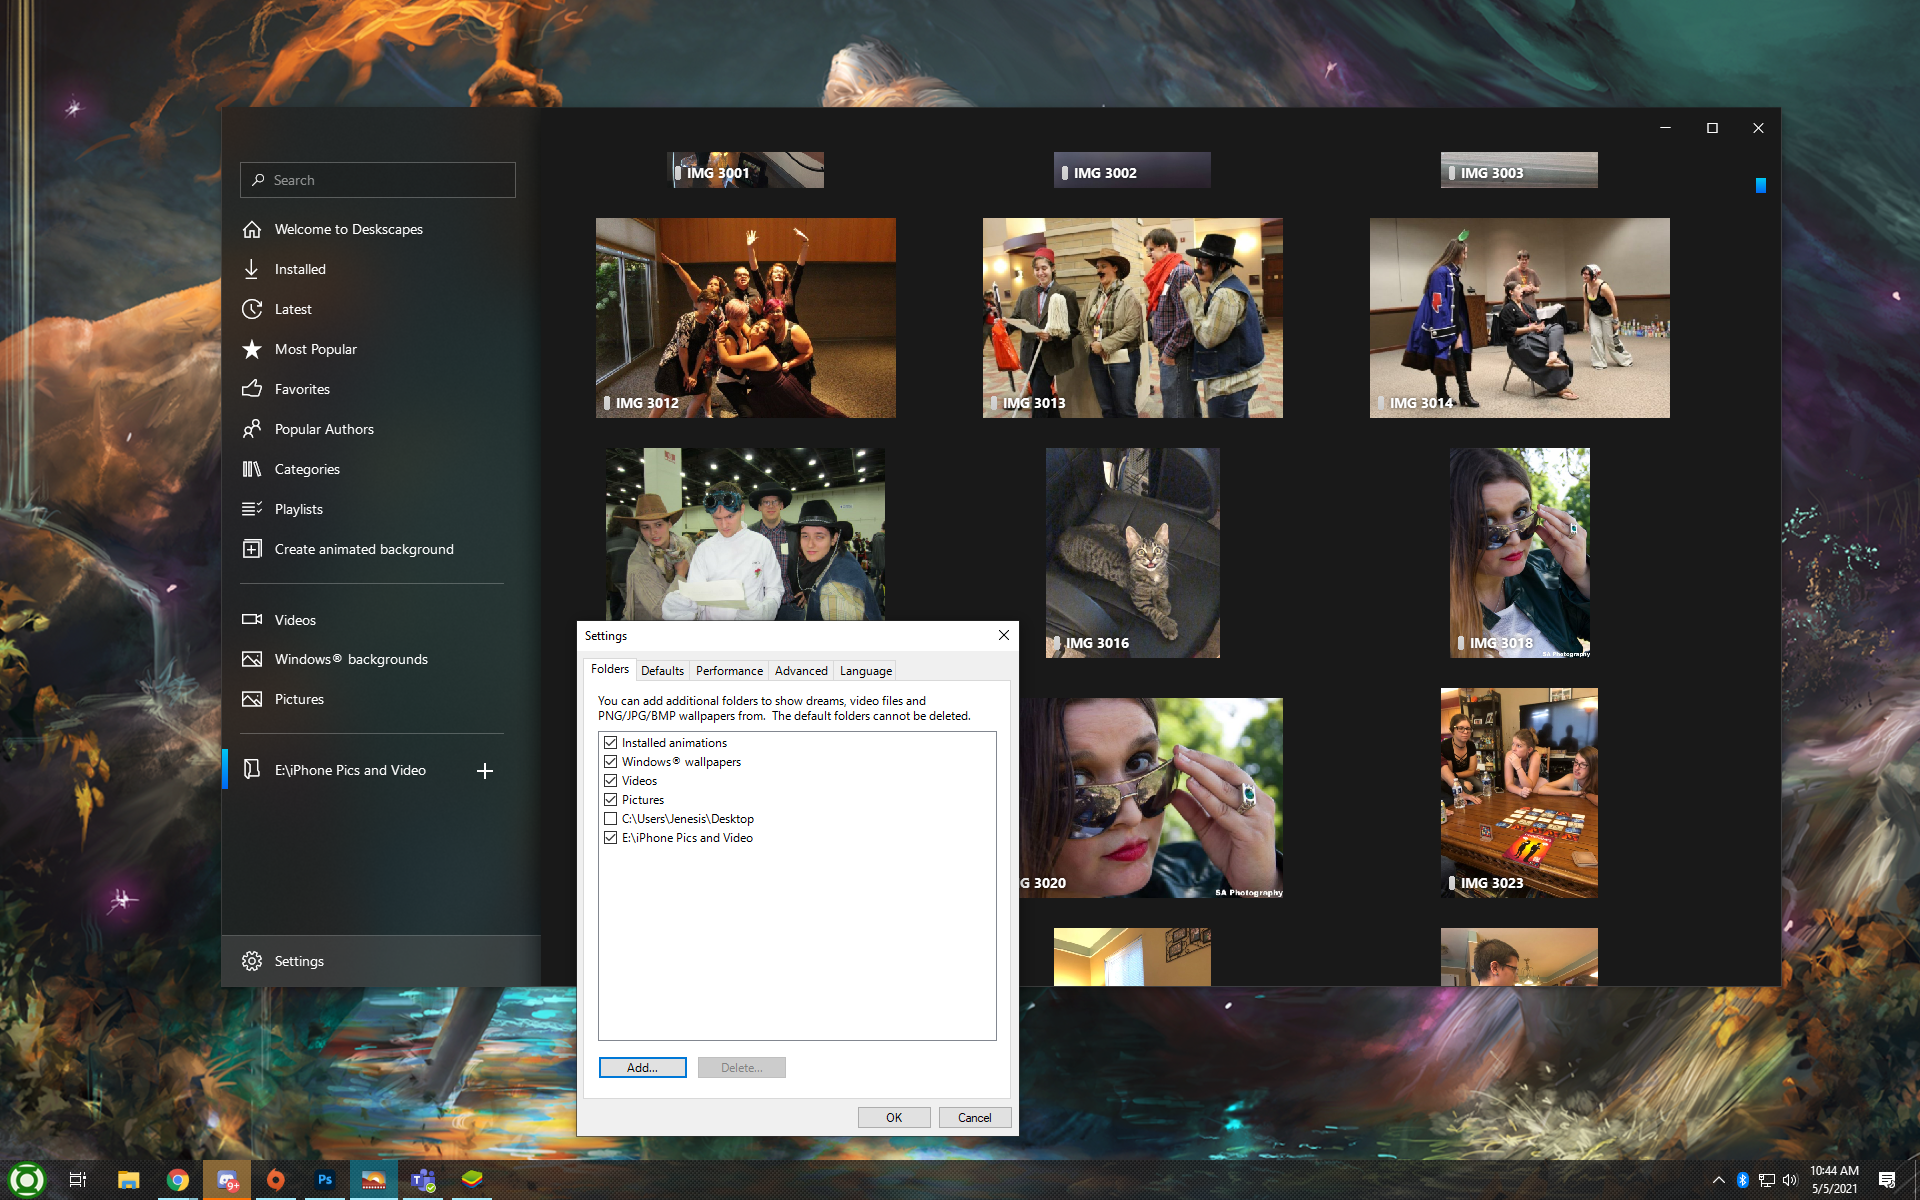
That’s great, and there’s an easy way to access them in DeskScapes. First and foremost, you’ll want to make sure that all of your pictures you’ll want to use are easily accessible in a Folder on your PC. Then, on the main menu, click on “Settings” down at the bottom. Go to the “Manage Folders” option and once you open that menu, choose the “Add…” option to put a new folder on the menu. You can also select and deselect folders from this menu to control what shows up on your DeskScapes UI.
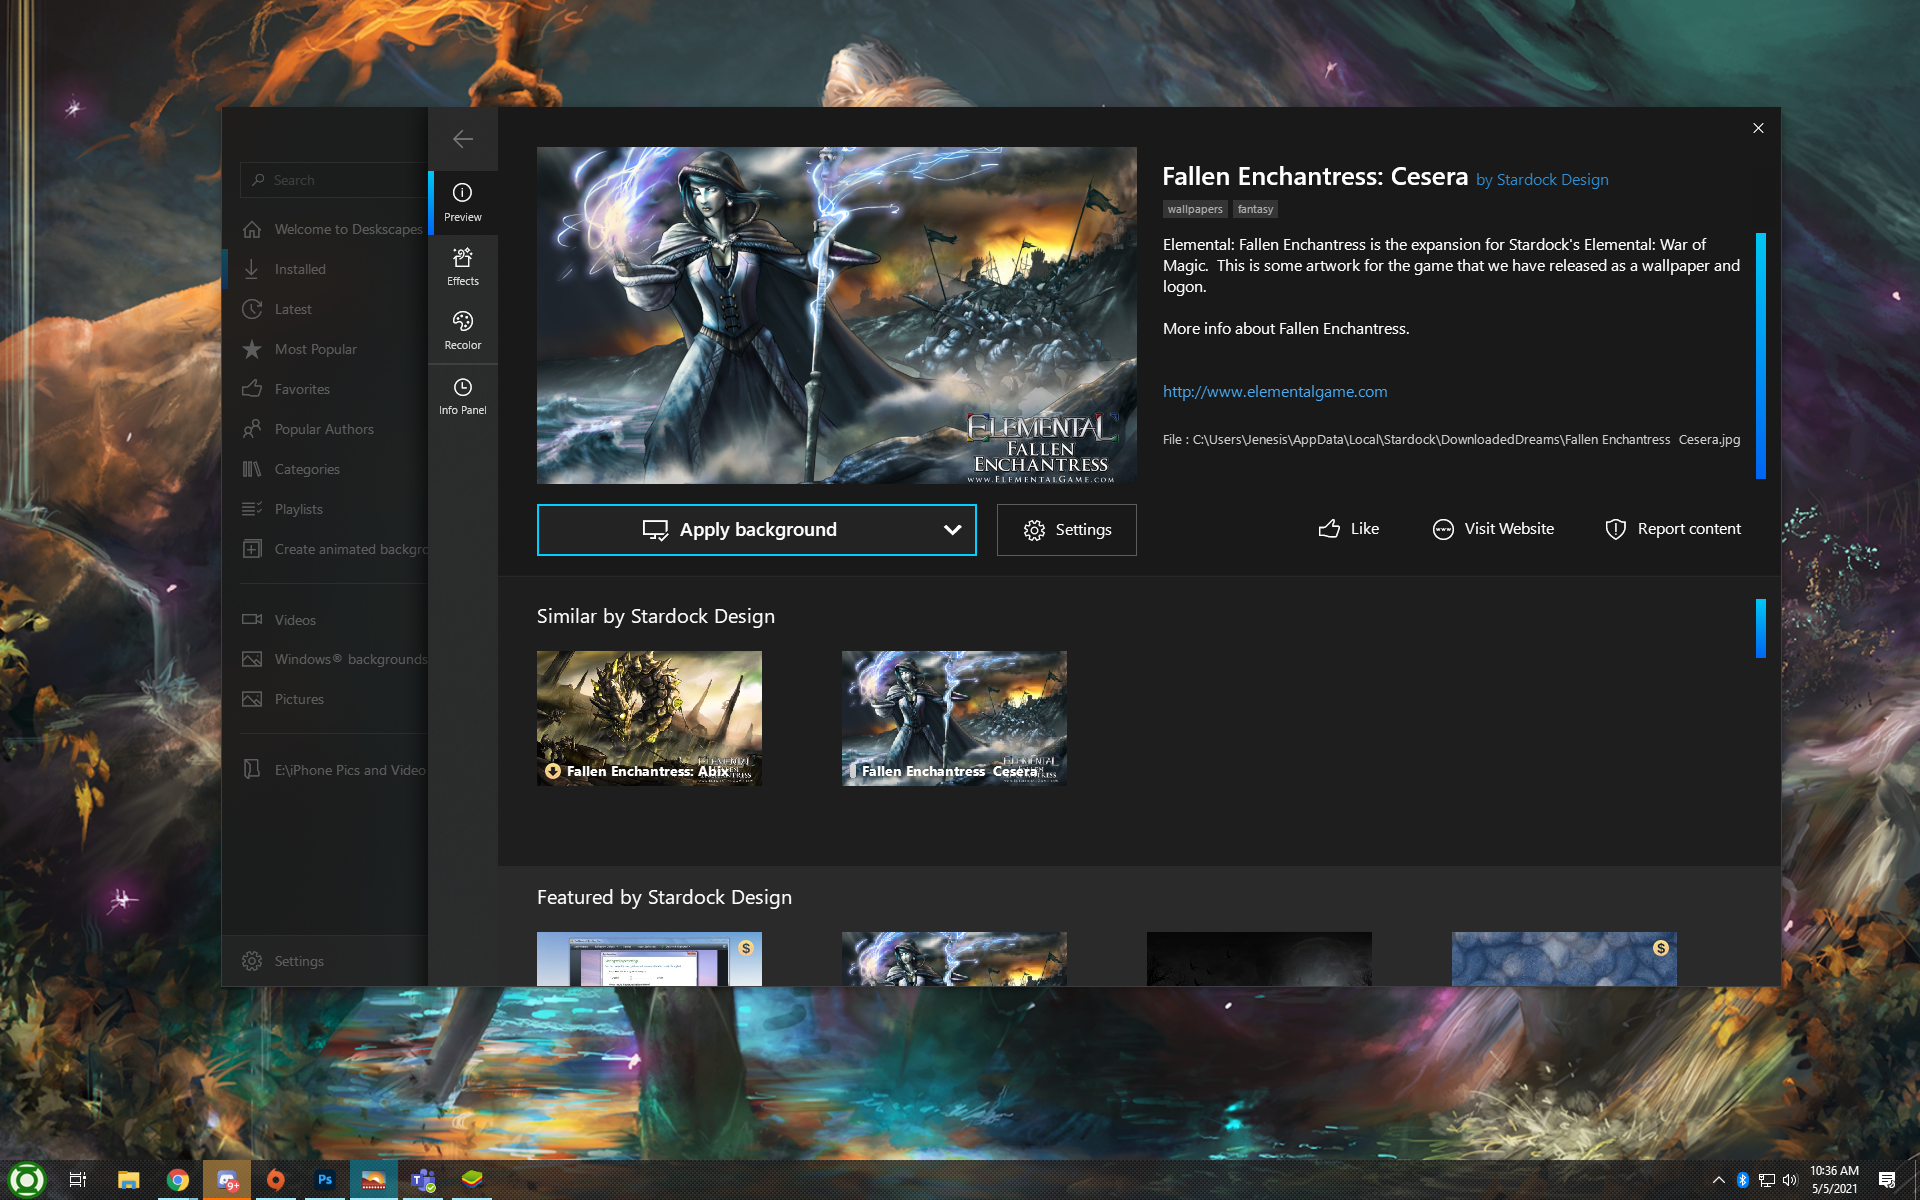
If you want to use backgrounds other than personal photographs or videos, you can browse the entire WinCustomize library right from within the DeskScapes app. You can browse via categories, popular author, and by latest updated or uploaded. There’s also a section that keeps track of all the backgrounds you’ve favorited so that you can find them easily when you need them.
Once you’ve found some backgrounds you like - either from your personal camera or from within the app - you’re ready to move onto the next step.
Make Your Playlist
Go to the “Playlists” tab on the main menu of DeskScapes. If you already have some playlists made, they’ll appear there - but for our purposes, let’s select “Create New Playlist” and go from there.
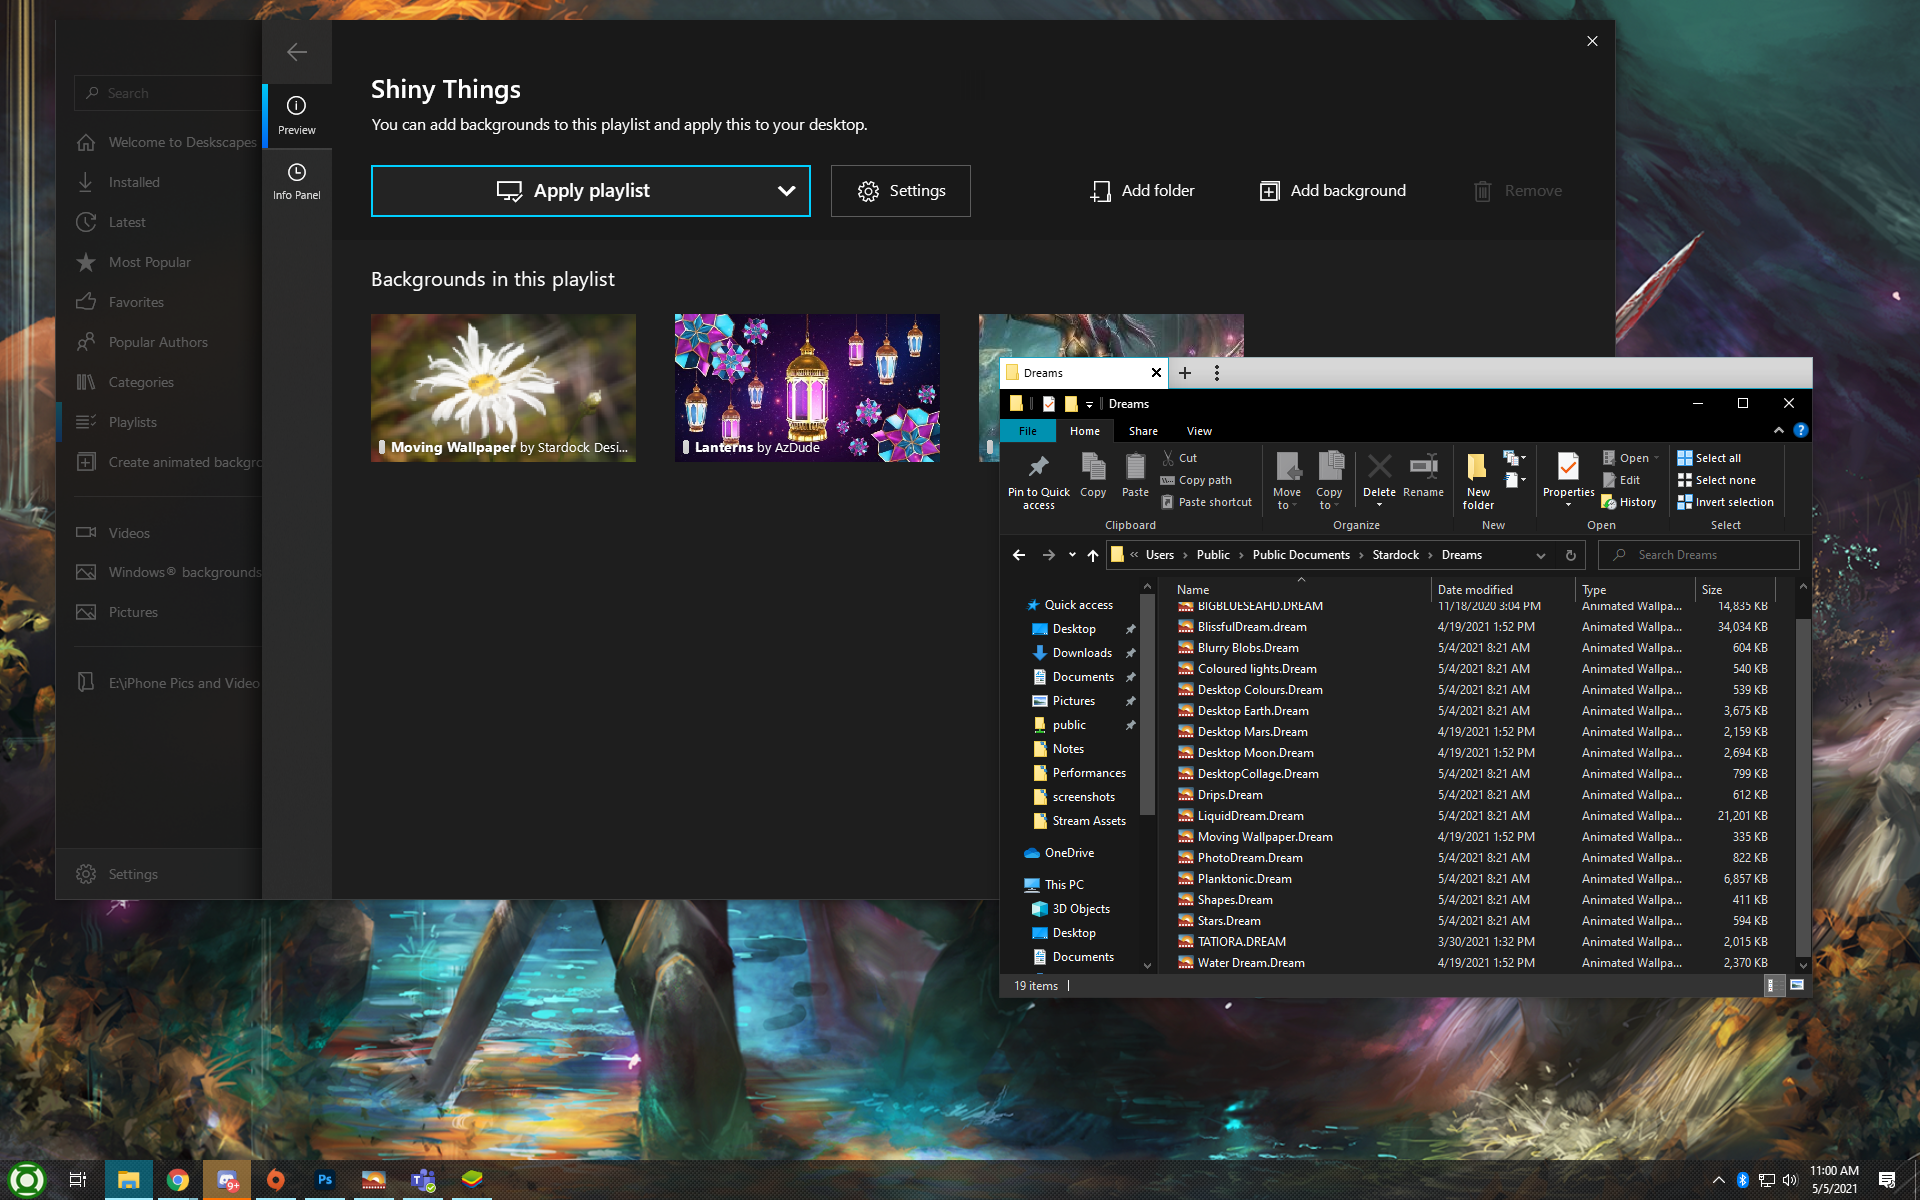
Once you name your playlist, it will appear in the menu below and you can edit it. You have a few options here - you can import backgrounds one at a time, selecting from different folders. If you’re going to use backgrounds you’ve downloaded from DeskScapes, make sure you know the folder directory they’re all saving in so that you can add them here.
TIP: If you’re not sure where a background saved to, you can check it in DeskScapes by selecting the background and looking at the file directory listed to the right of the thumbnail image.
If you have an entire folder worth of pictures or backgrounds you’d like the playlist to cycle through, you can add an entire folder to the playlist.
Choose your Intervals
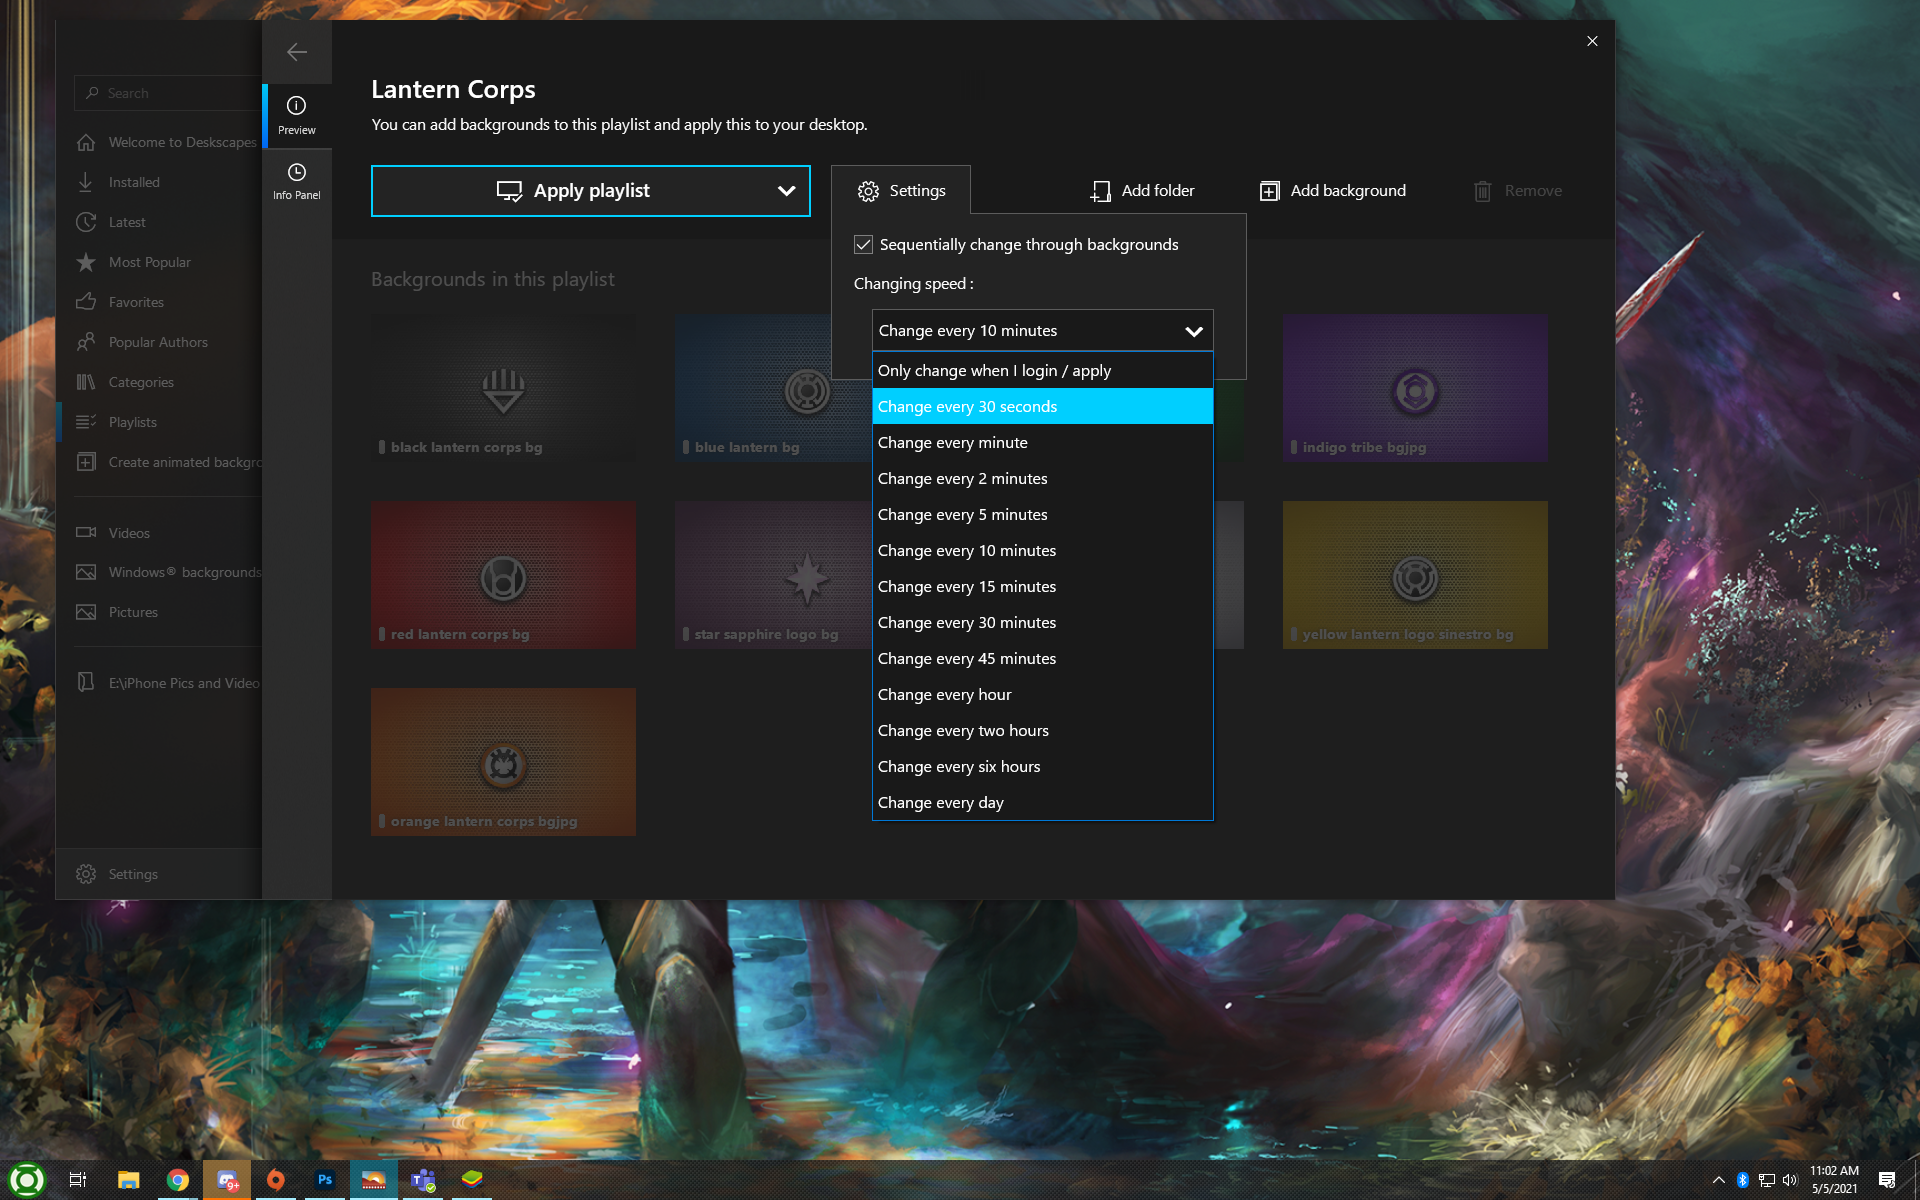
Once you’ve imported all of the images or videos you’d like to use in your playlist, it’s time to choose how often it will cycle from one thing to the next. You can set it to change only when you login/reapply, every 30 seconds, every few minutes, every hour, and so on. There are plenty of options to suit your preferred speed!
Choose Where it Applies
If you work with multiple monitors, DeskScapes gives you the fantastic option of applying different wallpapers - and, now, playlists! - to each of them. You can also choose to apply the playlist as a screensaver. In theory, since I work with 2 monitors, I could have 2 different playlists running, one on each, plus a separate one for my screensaver.
Am I extra enough for that? Yeah, probably. Don’t judge me!


