Using Stardock Tiles: Pages
Now that Tiles is available, I wanted to start showing off some of the features that makes Tiles pretty awesome. First, we’ll start off with Pages as this is an important configuration and has a significant impact on how you interact with Tiles.
Remember, if you don’t have Tiles, get the info here: https://www.stardock.com/products/tiles/
Adding and Removing Pages
In your Tiles configuration the first option is Pages which is going to let you customize the pages in Tiles, and assign them different properties if you so desire. When you start Tiles you are already presented with some default pages like Web, but of course you might want to keep them all, or delete them all and start from scratch. Regardless of what you want to do, it’s easy to add and remove Pages.
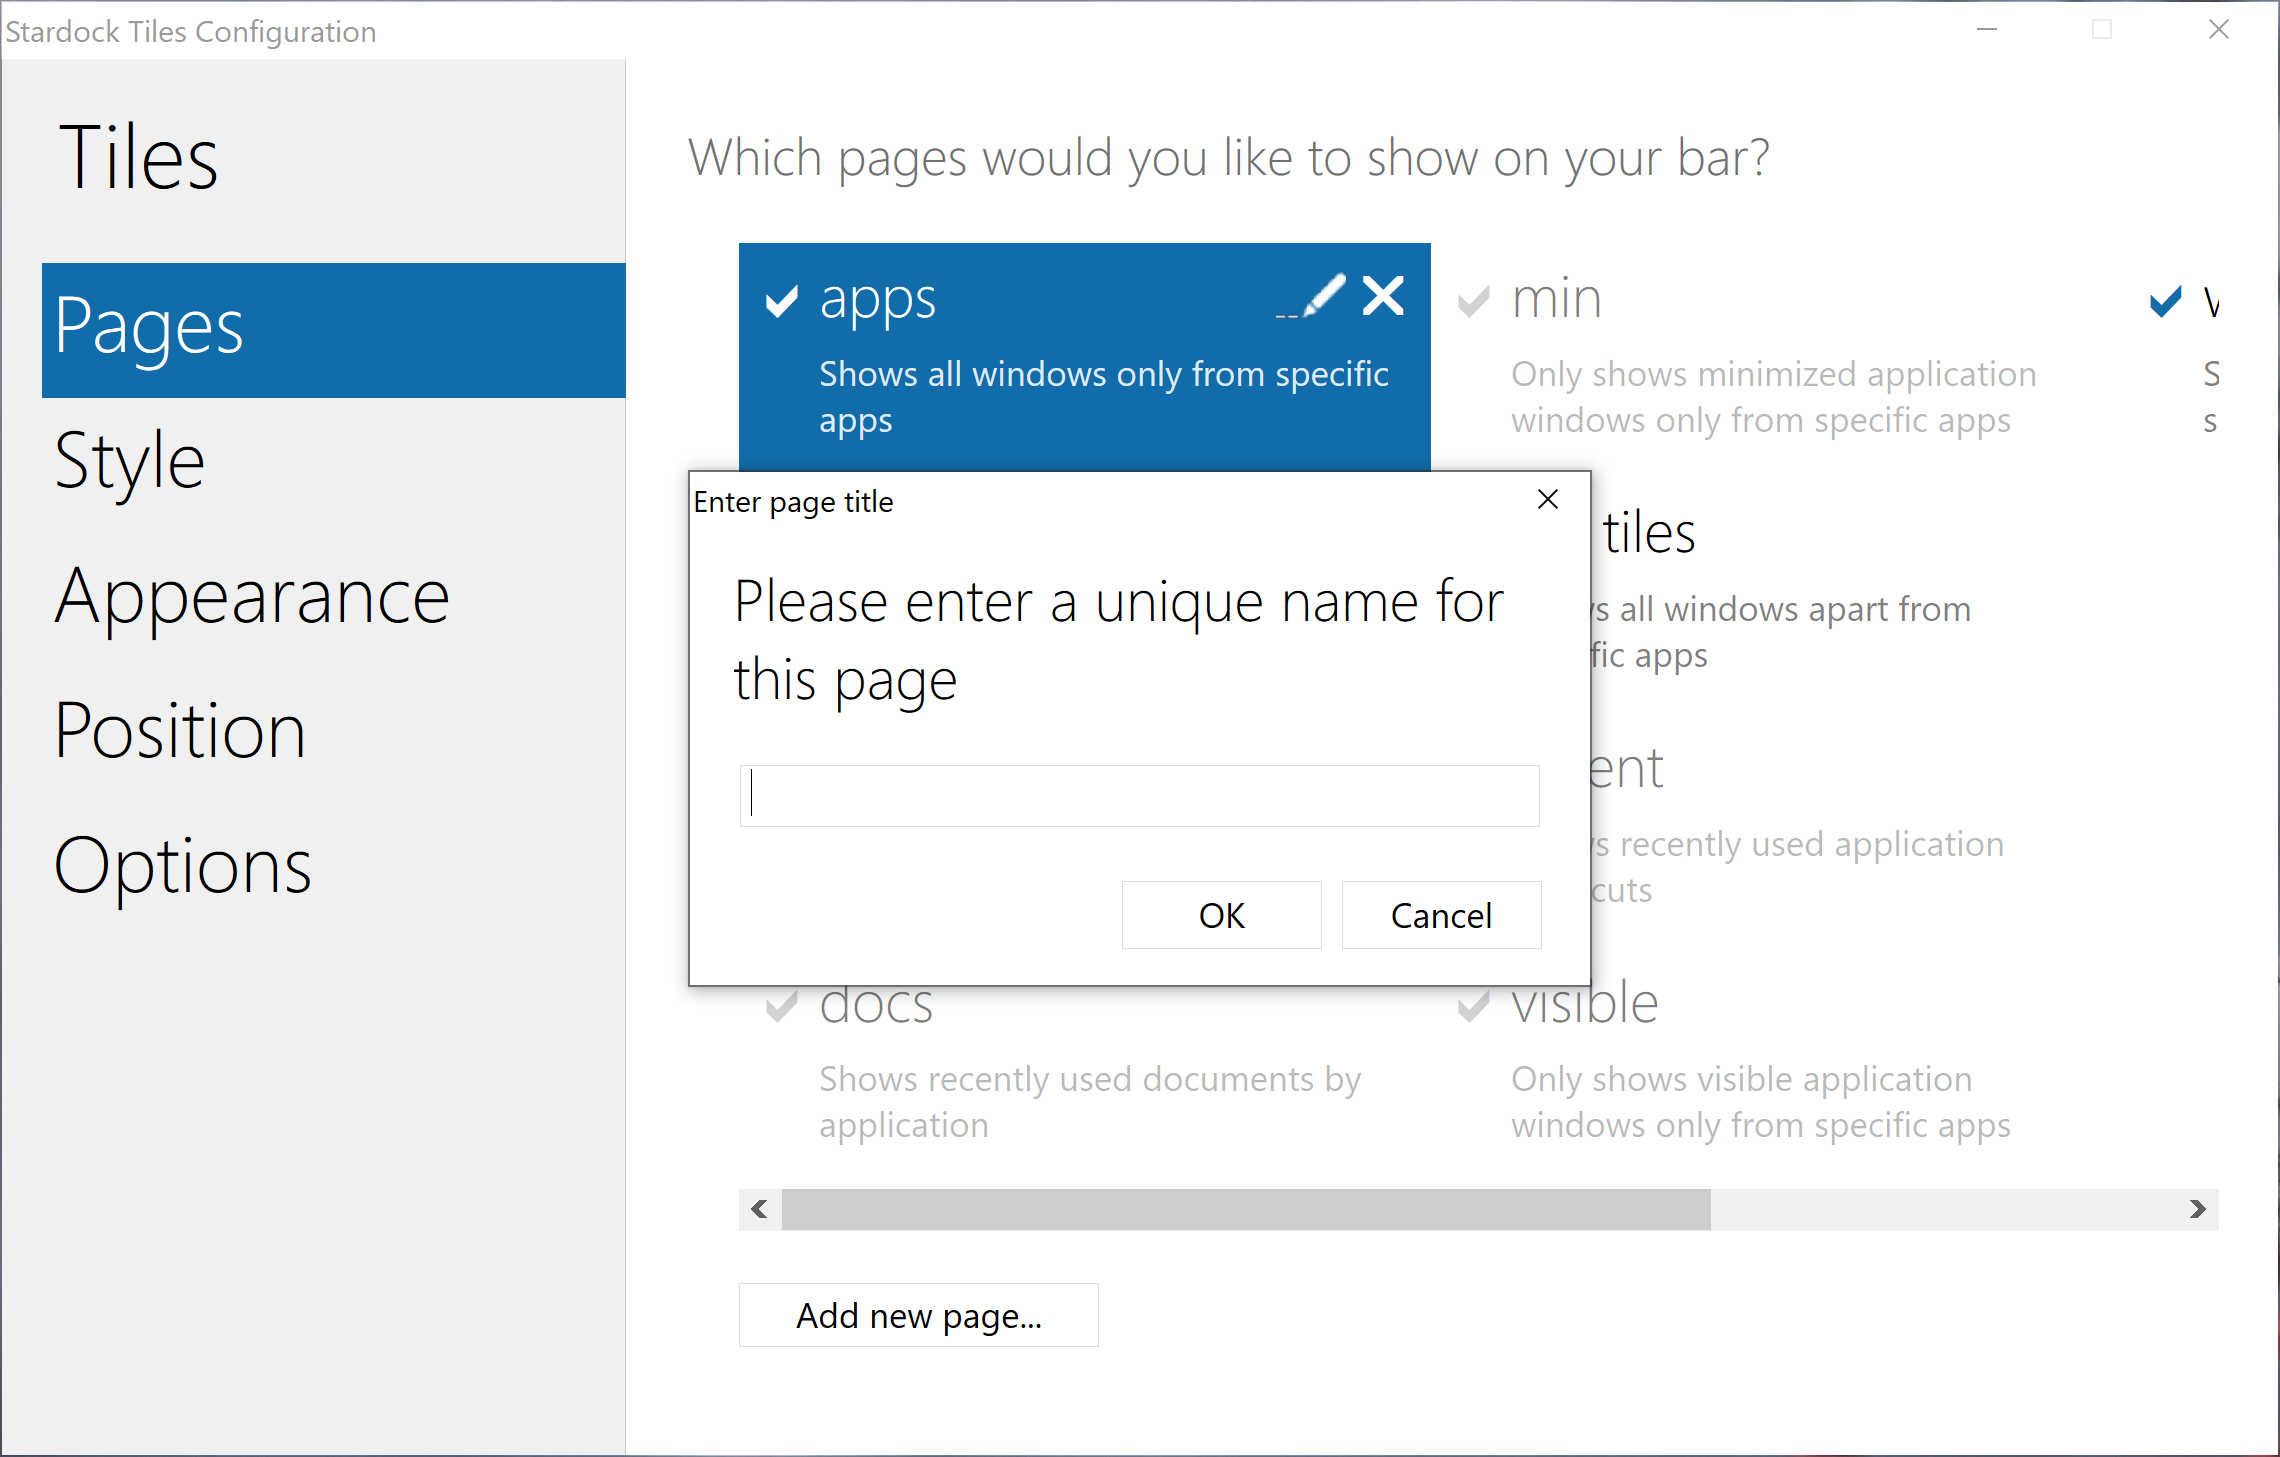
In the upper right-hand you have a button labeled Add. Just click that and enter the name for the page you want and it’s ready to use or setup further. To remove a page just click the one you want to delete and click the X next to it.
Configuring Pages
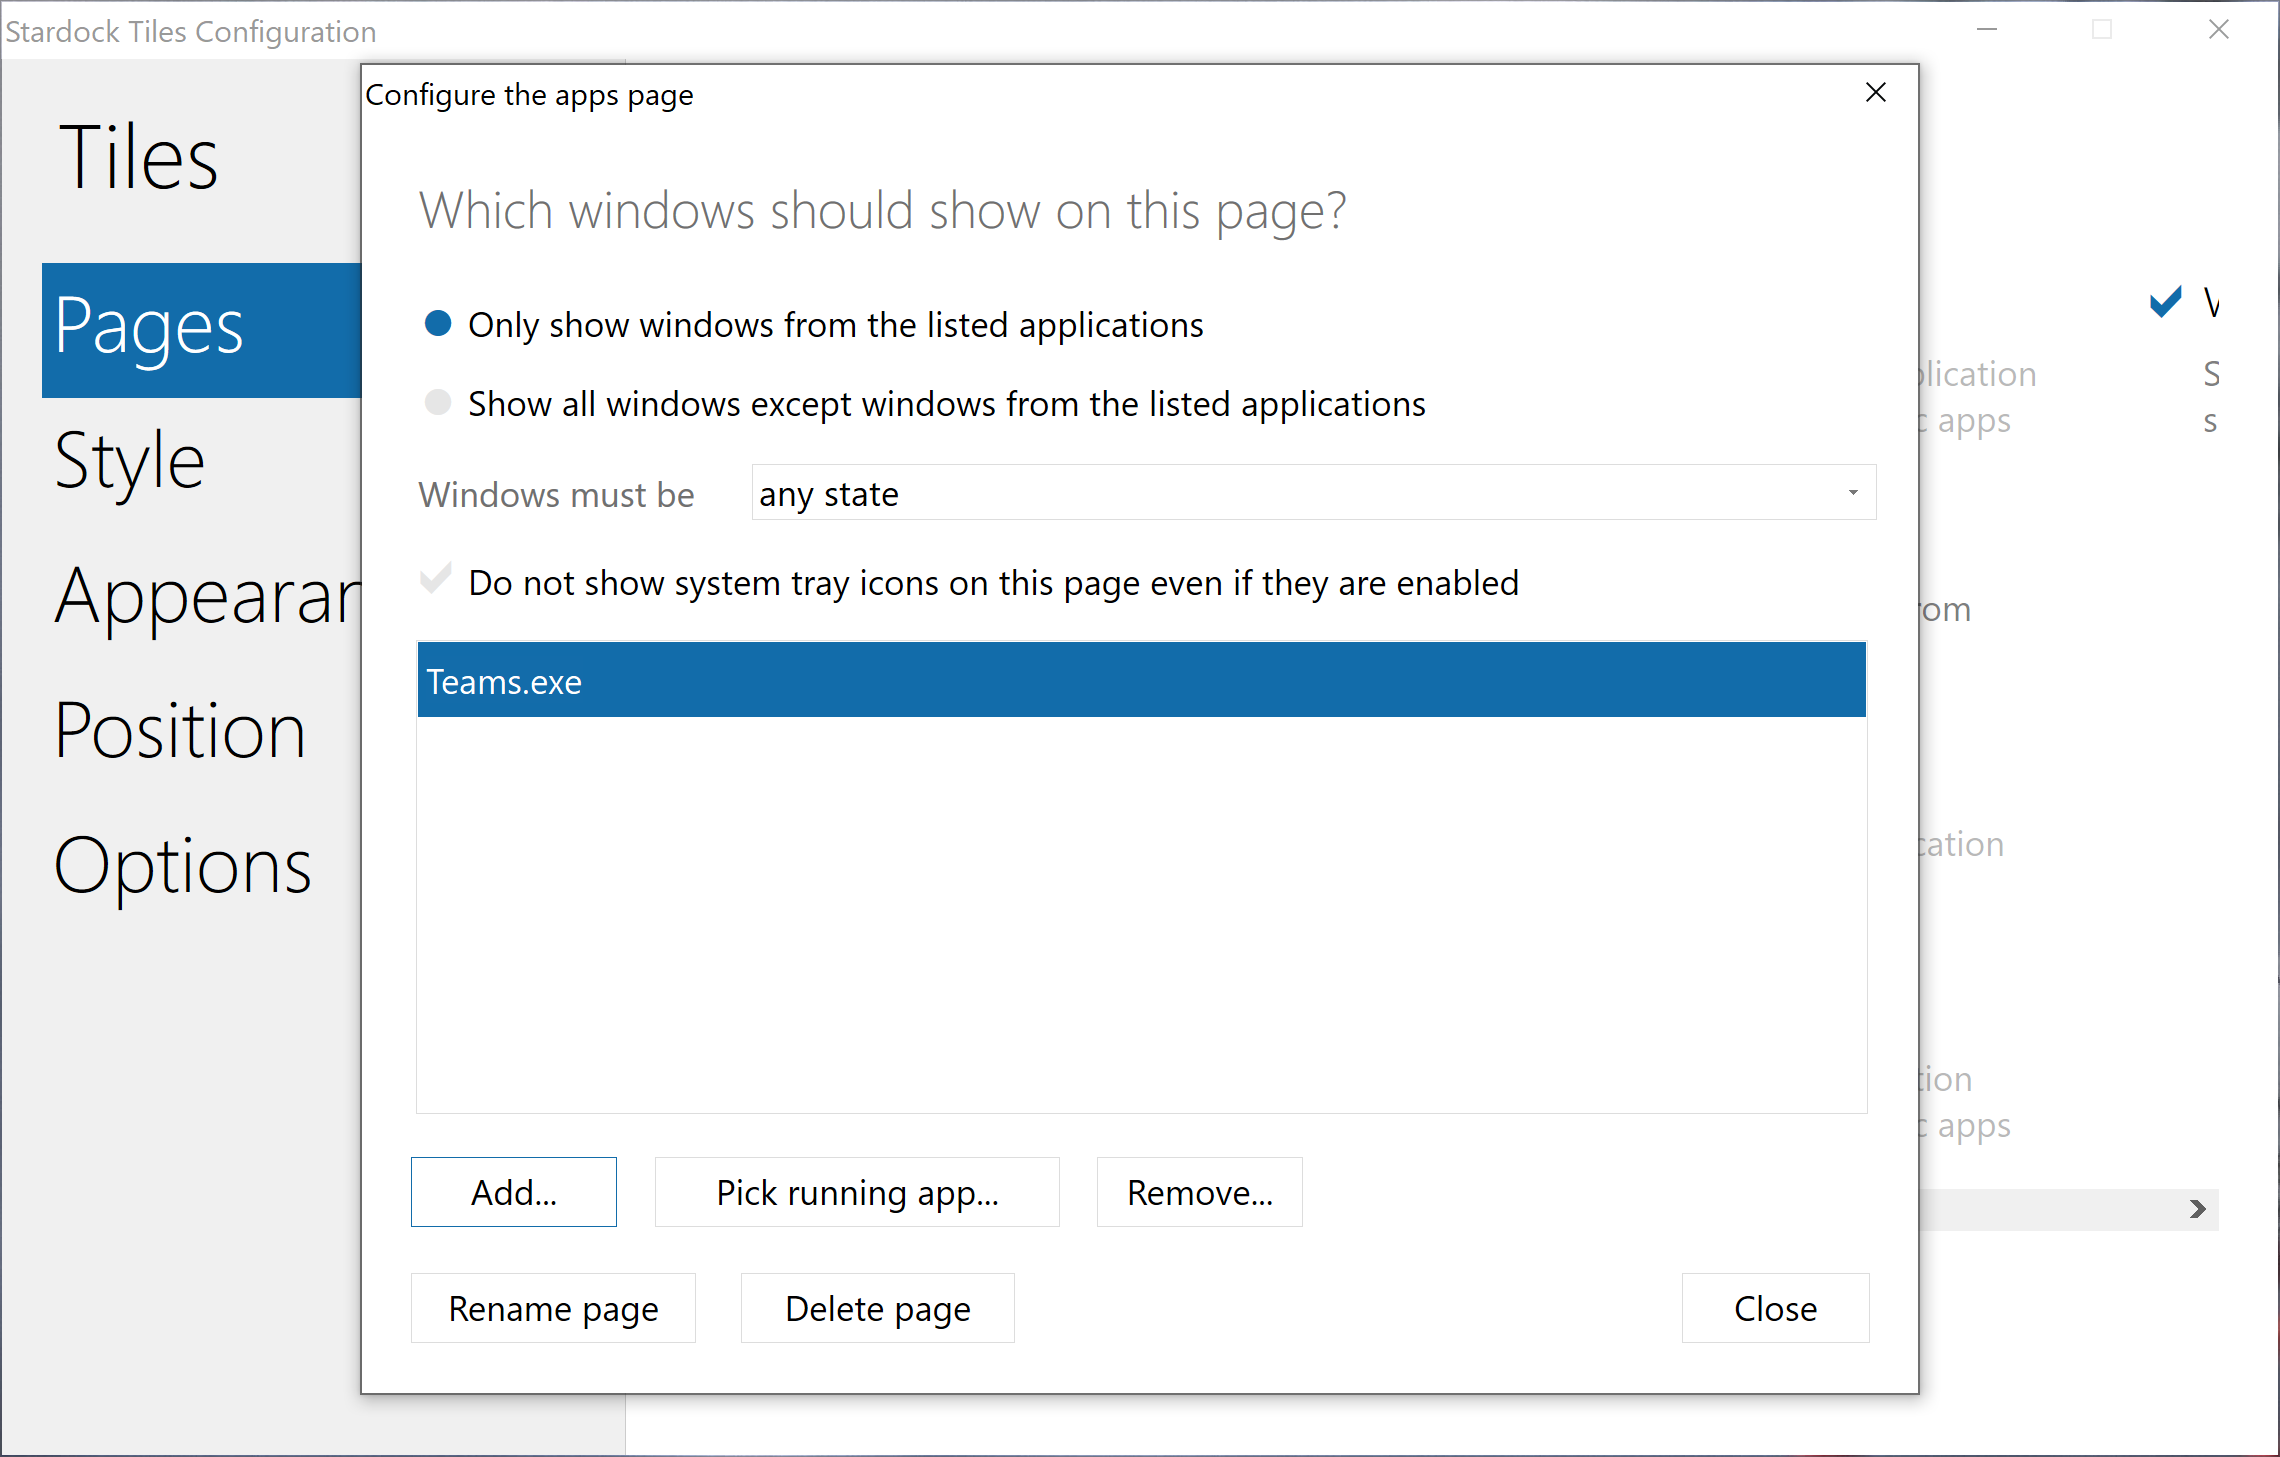
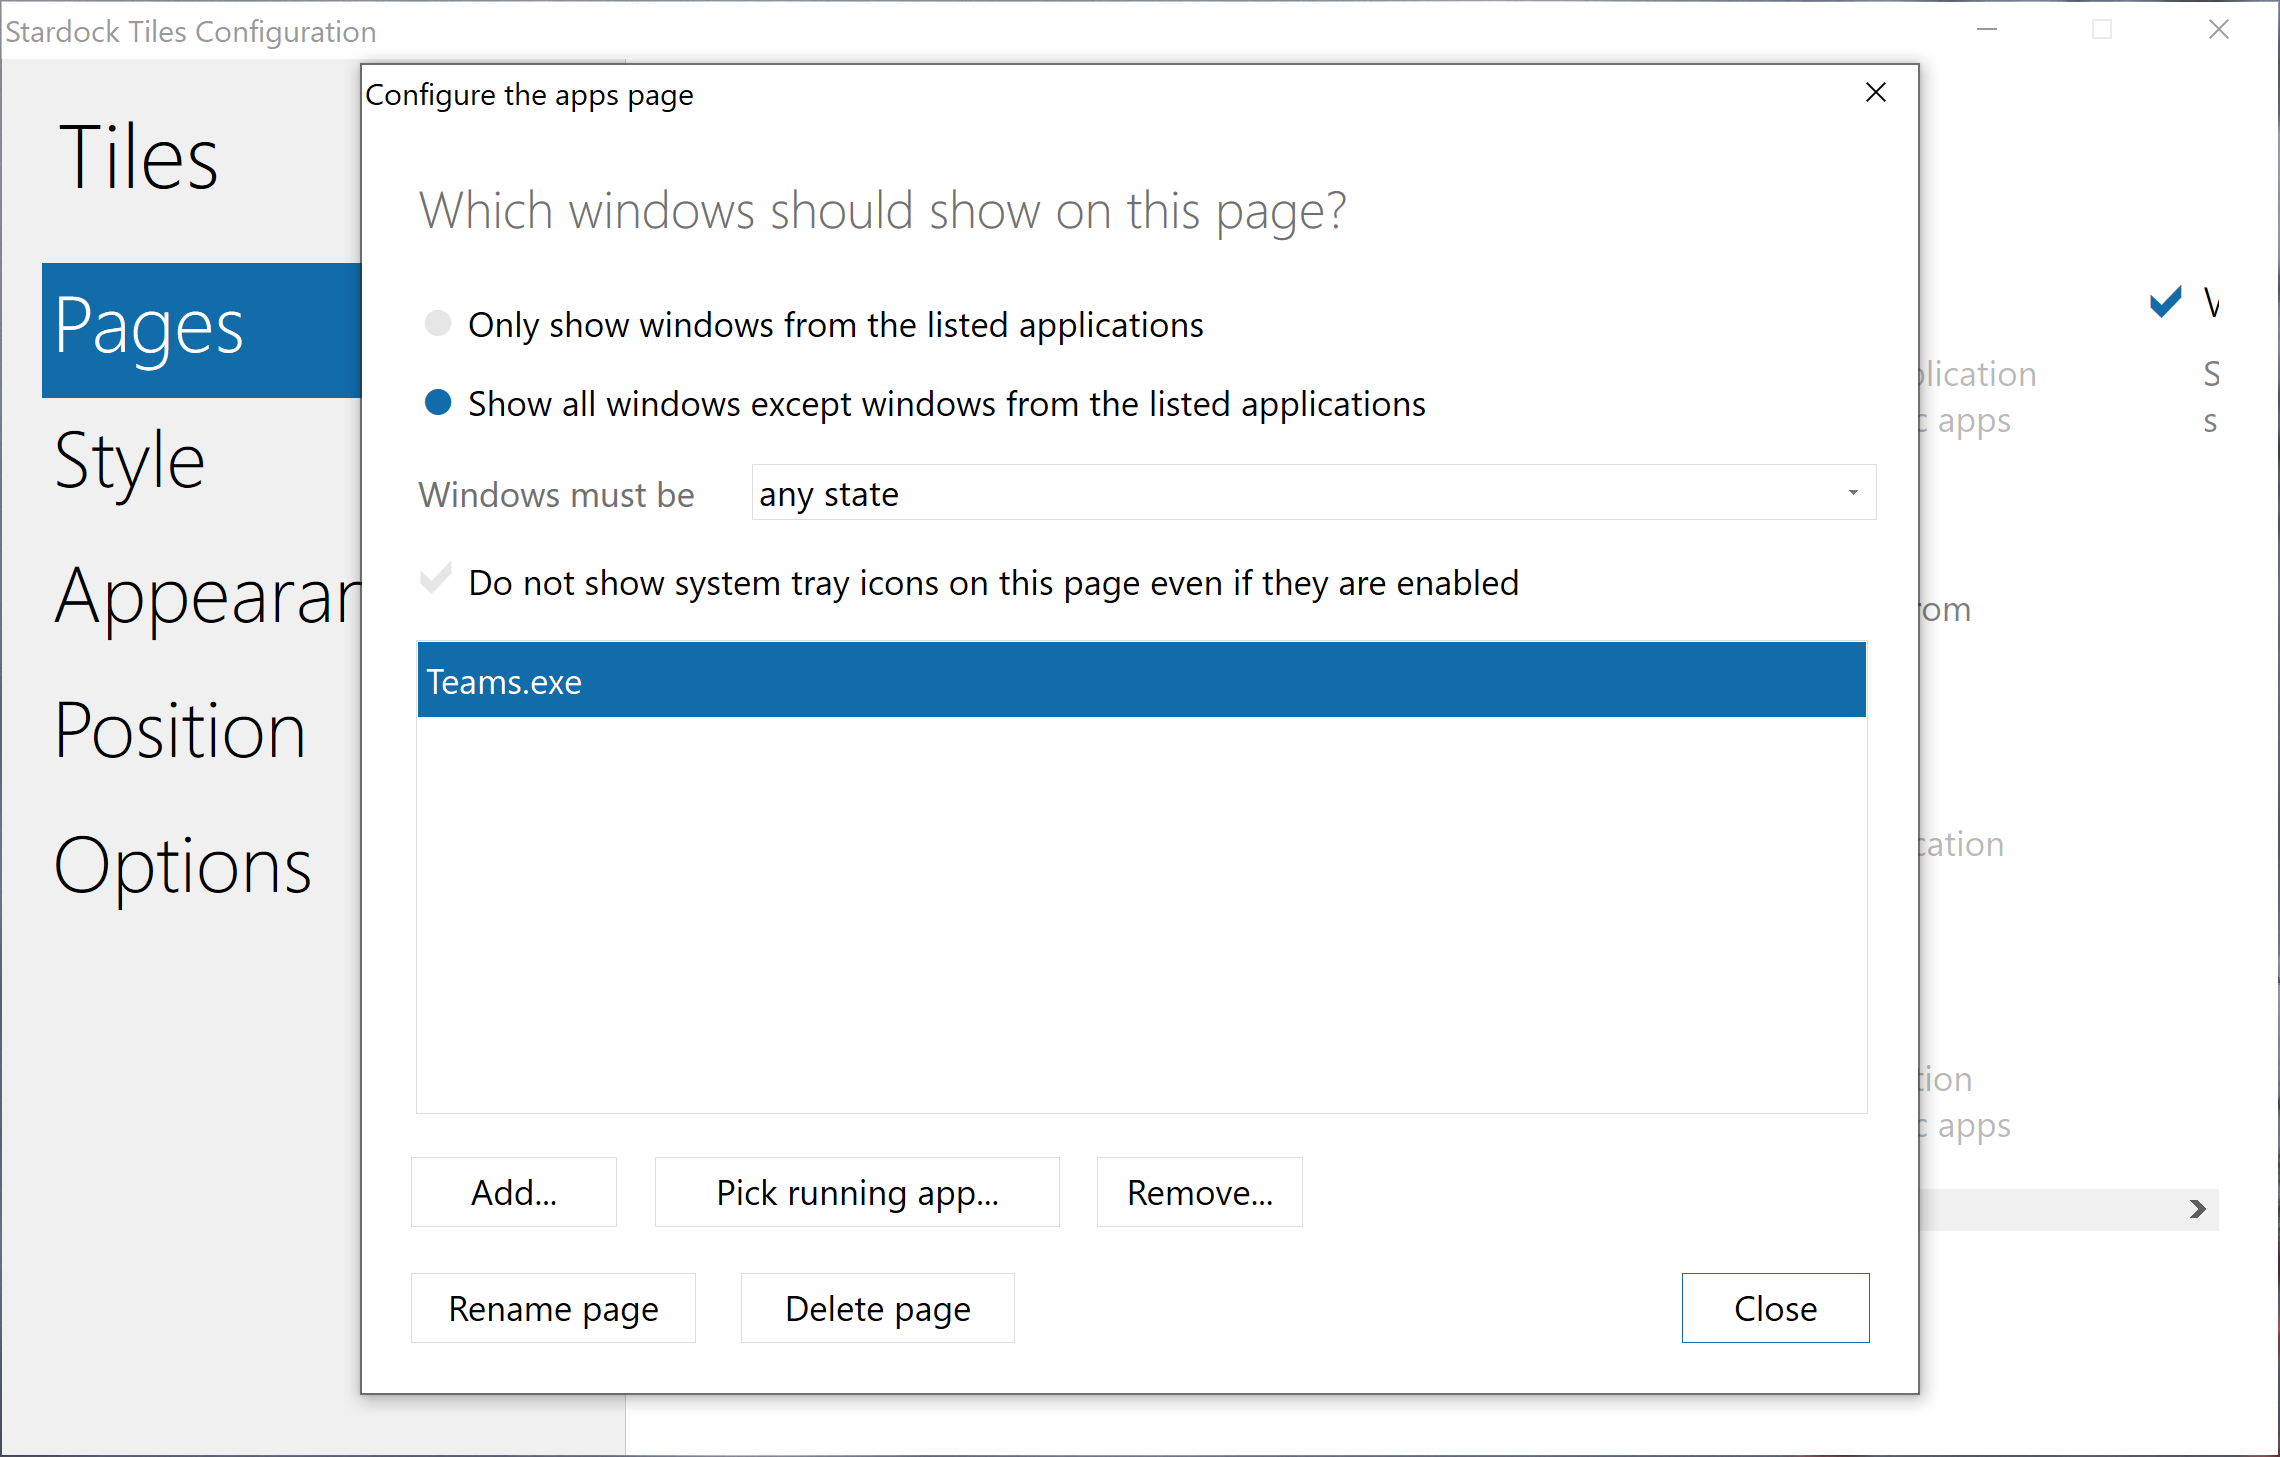
Select a page from the list and click the pencil icon to enter the configuration page for it. Here you can select which windows should show on the page. You can select to only show windows from applications you select from, or to show all windows with exceptions that you can also choose.
I’m using this page as a document-only page, so for something like this I would only want to show windows from document apps I use such as Microsoft Word, Excel, etc. You can either select an app by selecting it in explorer, or you can select from applications you have running. You can further fine tune windows that show based on their state or applications that have recently run.
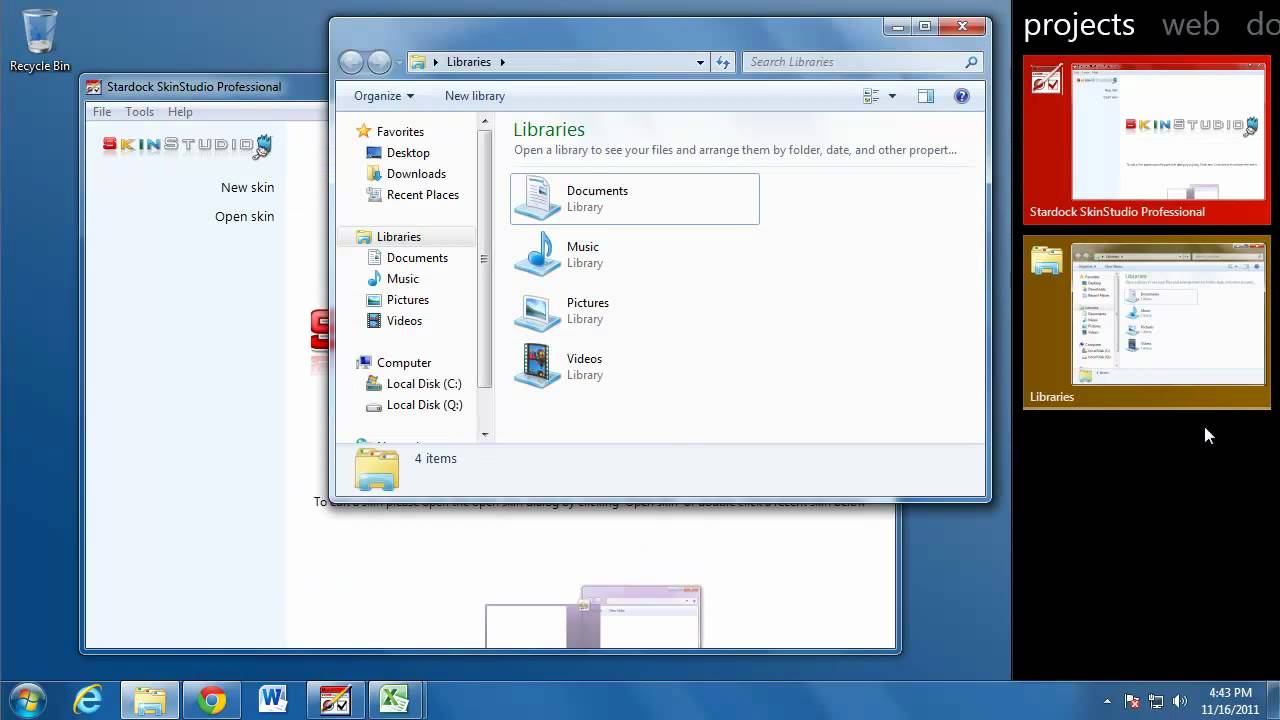
As you can see in the screenshot, I have my Documents Page with Word and Excel showing. Now I can have a virtual desktop of my document windows that can be minimized and maximized when scrolling through pages as you can see in this quick demo video.


